HTML For Beginners The Easy Way: Start Learning HTML & CSS Today
Welcome! You’ve Found the Easiest Way to Learn HTML and CSS.
Contents
Whether you are a novice, hoping to delve into the world of web design or an experienced webmaster keen to improve your skills, we’ve got online tutorials tailored to your web design needs.
In a rush? Go straight to our tutorial and start learning HTML now!
Our absolute beginner tutorial will turn you from wannabe to webmaster in just a few hours. Unlike many other HTML tutorials, it’s a step-by-step guide – not a boring long-winded reference.
Our step-by-step guide teaches you the basics of HTML and how to build your first website. That means how to layout an HTML page, how to add text and images, how to add headings and text formatting, and how to use tables.
We’ll get you building your new website in minutes, not hours.
HTML for Absolute Beginners
While many guides on the internet attempt to teach HTML using a lot of mind-boggling theory, this tutorial will instead focus on giving you the practical skills to build your first site.
The aim is to show you ‘how’ to create your first web page without spending the entire tutorial focusing too much on the “why.”
By the end of this tutorial, you will have the know-how to create a basic website and we hope that this will inspire you to delve further into the world of HTML using our follow-on guides.
What is HTML?
Okay, so this is the only bit of mandatory theory. In order to begin to write HTML, it helps if you know what you are writing.
HTML is the language in which most websites are written. HTML is used to create pages and make them functional.
The code used to make them visually appealing is known as CSS and we shall focus on this in a later tutorial. For now, we will focus on teaching you how to build rather than design.
The History of HTML
HTML was first created by Tim Berners-Lee, Robert Cailliau, and others starting in 1989. It stands for Hyper Text Markup Language.
Hypertext means that the document contains links that allow the reader to jump to other places in the document or to another document altogether. The latest version is known as HTML5.
A Markup Language is a way that computers speak to each other to control how text is processed and presented. To do this HTML uses two things: tags and attributes.
What are Tags and Attributes?
Tags and attributes are the basis of HTML.
They work together but perform different functions – it is worth investing 2 minutes in differentiating the two.
What Are HTML Tags?
Tags are used to mark up the start of an HTML element and they are usually enclosed in angle brackets. An example of a tag is: <h1>.
Most tags must be opened <h1> and closed </h1> in order to function.
What are HTML Attributes?
Attributes contain additional pieces of information. Attributes take the form of an opening tag and additional info is placed inside.
An example of an attribute is:
<img src="mydog.jpg" alt="A photo of my dog.">
In this instance, the image source (src) and the alt text (alt) are attributes of the <img> tag.
Golden Rules To Remember
- The vast majority of tags must be opened (
<tag>) and closed (</tag>) with the element information such as a title or text resting between the tags. - When using multiple tags, the tags must be closed in the order in which they were opened. For example:
<strong><em>This is really important!</em></strong>
HTML Editors
Now that we’ve gotten the basic theory out of the way. It’s time to learn how to build our first website.
First off, we must ensure that we have the right tools. Most important, we need an HTML editor.
There are many choices on the market. Here are a handful of the most popular:
Sublime Text 3
However, for this tutorial, we will use the Sublime Text 3 as it is free and also offers cross-platform support for Windows, Mac, and Linux users.
Pros
- Easily customizable
- Beginner-friendly
- Pleasant color schemes to choose from.
Cons
- Can’t print documents or code
- No toolbar or dashboard available.
Notepad ++
Another common choice for HTML and other language coders is Notepad ++. It is a tiny program to download and perform the functions you need for writing clean code.
Pros
- Distraction-free interface
- Auto-completion feature
- Plugin options for extended functionalities.
Cons
- Can be difficult to get used to for beginners
- No support for Mac.
Komodo Edit
Komodo Edit is one of two editors released by the same label. They offer a simple, open-source editor with a variety of extensions and language support.
It is free to download.
Pros
- Easy-to-grasp coding interface
- Available for Mac, Windows, and Linux
- Impressive language support.
Cons
- No autocompletion by default
- Visual settings are difficult to find and change.
What To Avoid
Your code’s front-end view varies from browser to browser – you will learn more about this with advanced CSS.
Do not use Microsoft Word or any other word processor when writing HTML code, only an HTML editor or at the very least, your machine’s built-in notepad, is suitable for the task.
Secondly, ensure that you’ve installed a number of different browsers such as Chrome and Firefox in order to preview your upcoming creation.
Creating Your First HTML Webpage
First off, you need to open your HTML editor, where you will find a clean white page on which to write your code.
From there you need to layout your page with the following tags.
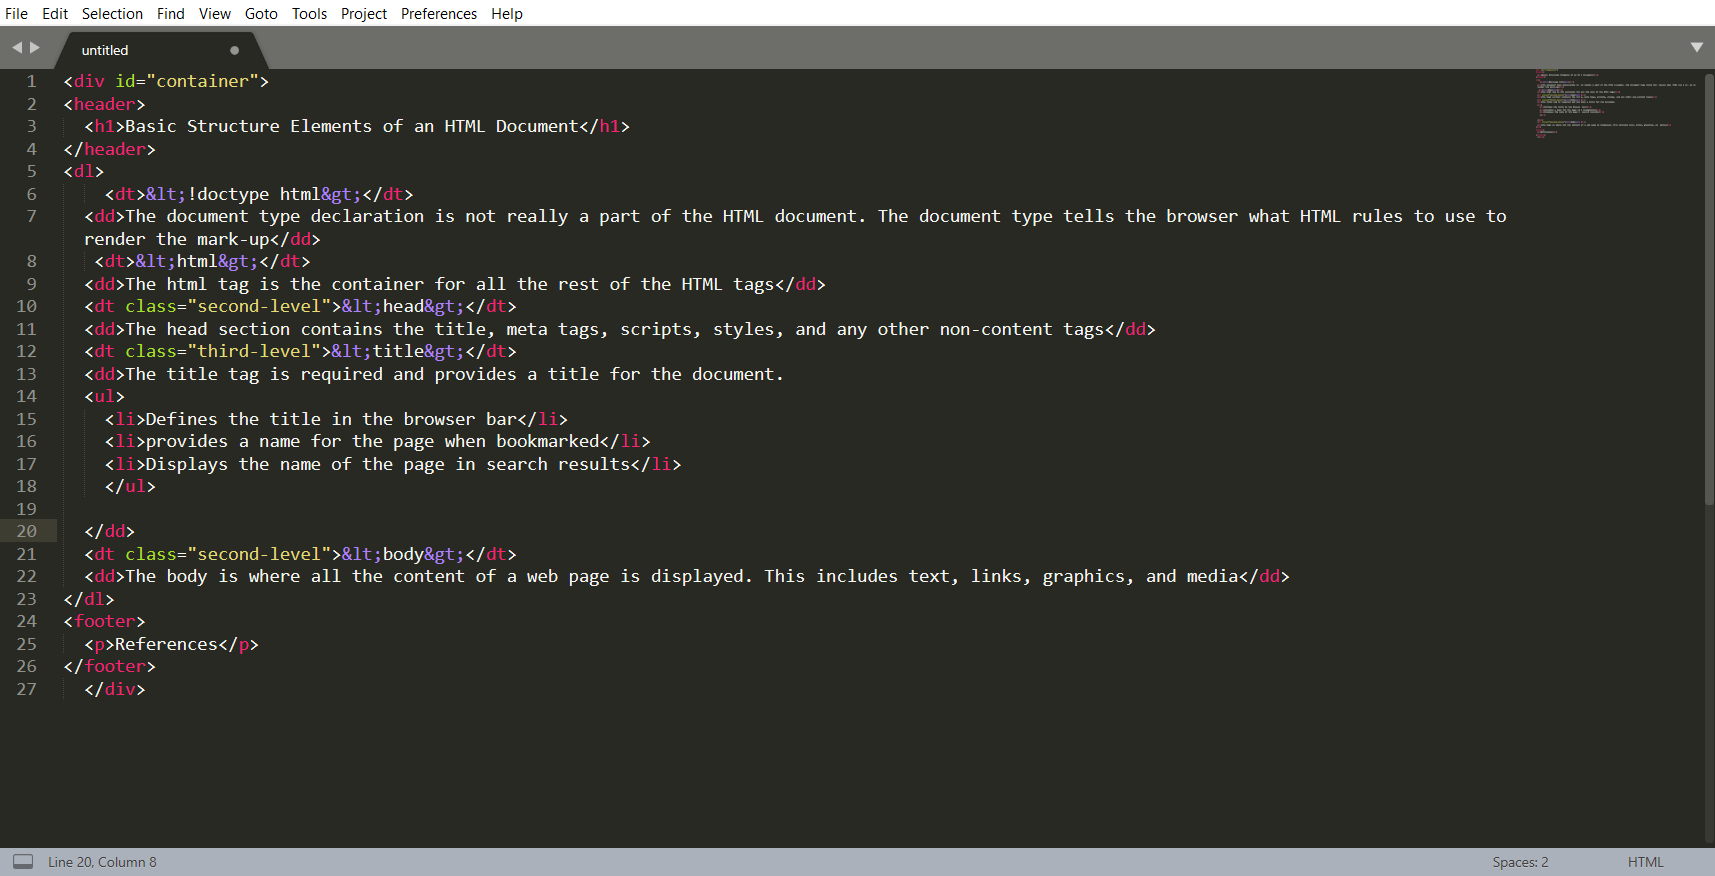
Basic Construction of an HTML Page
These tags should be placed underneath each other at the top of every HTML page that you create.
<!DOCTYPE html> — This tag specifies the language you will write on the page. In this case, the language is HTML 5.
<html> — This tag signals that from here on we are going to write in HTML code.
<head> — This is where all the metadata for the page goes — stuff mostly meant for search engines and other computer programs.
<body> — This is where the content of the page goes.
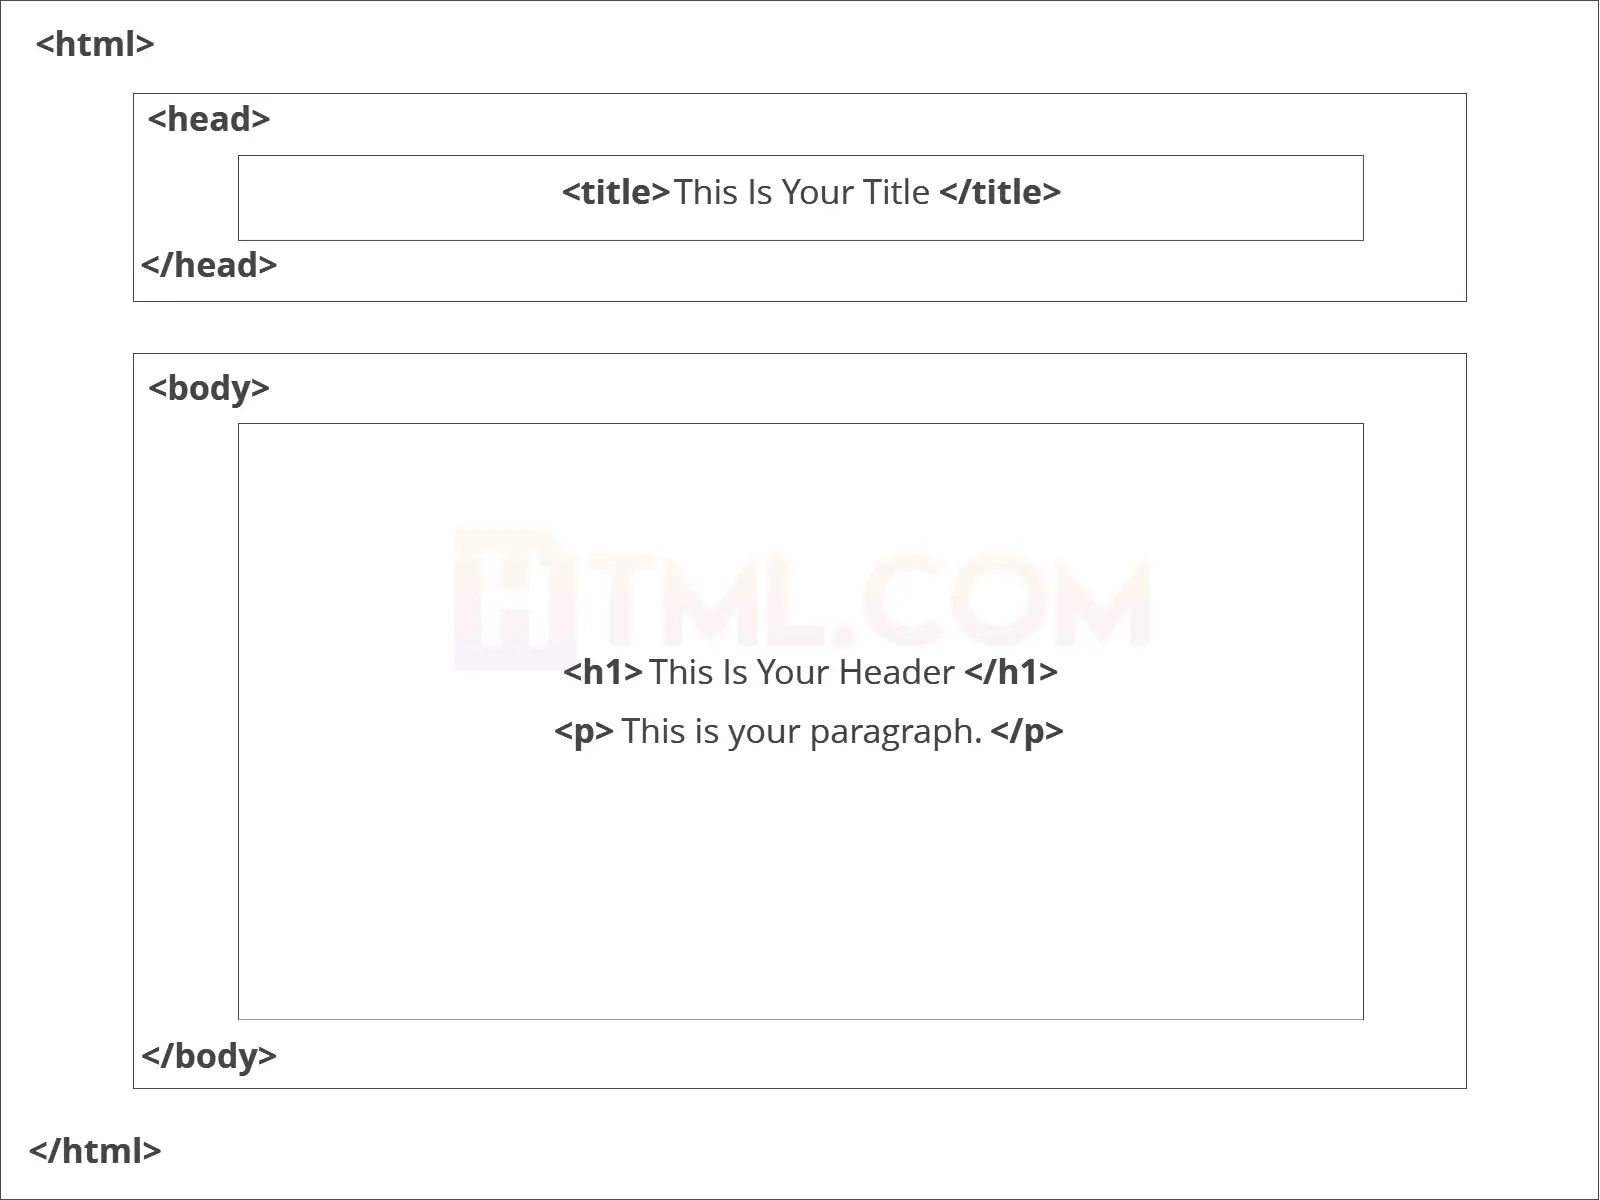
Further Tags
Inside the <head> tag, there is one tag that is always included: <title>, but there are others that are just as important:
<title>- This is where we insert the page name as it will appear at the top of the browser window or tab.
<meta>- This is where information about the document is stored: character encoding, name (page context), description.
Let’s try out a basic <head> section:
<head>
<title>My First Webpage</title>
<meta charset="UTF-8">
<meta name="description" content="This field contains information about your page. It is usually around two sentences long.">.
<meta name="author" content="Conor Sheils">
</header>
Adding Content
Next, we will make <body> tag.
The HTML <body> is where we add the content which is designed for viewing by human eyes.
This includes text, images, tables, forms and everything else that we see on the internet each day.
How to Add HTML Headings To Your Web Page
In HTML, headings are written in the following elements:
<h1><h2><h3><h4><h5><h6>
As you might have guessed <h1> and <h2> should be used for the most important titles, while the remaining tags should be used for sub-headings and less important text.
Search engine bots use this order when deciphering which information is most important on a page.
Creating Your Heading
Let’s try it out. On a new line in the HTML editor, type:
<h1>Welcome to My Page</h1>
And hit save. We will save this file as “index.html” in a new folder called “my webpage.”
The Moment of Truth: Click the newly saved file and your first ever web page should open in your default browser. It may not be pretty it’s yours… all yours. *Evil laugh*
Well let’s not get carried away; we’ve still got loads of great features that we can add to your page.
How To Add Text In HTML
Adding text to our HTML page is simple using an element opened with the tag <p> which creates a new paragraph. We place all of our regular text inside the element <p>.
When we write text in HTML, we also have a number of other elements we can use to control the text or make it appear in a certain way.
Other Key Elements
They are as follows:
| Element | Meaning | Purpose |
|---|---|---|
| <b> | Bold | Highlight important information |
| <strong> | Strong | Similarly to bold, to highlight key text |
| <i> | Italic | To denote text |
| <em> | Emphasised Text | Usually used as image captions |
| <mark> | Marked Text | Highlight the background of the text |
| <small> | Small Text | To shrink the text |
| <strike> | Striked Out Text | To place a horizontal line across the text |
| <u> | Underlined Text | Used for links or text highlights |
| <ins> | Inserted Text | Displayed with an underline to show an inserted text |
| <sub> | Subscript Text | Typographical stylistic choice |
| <sup> | Superscript Text | Another typographical presentation style |
These tags must be opened and closed around the text in question.
Let’s try it out. On a new line in the HTML editor, type the following HTML code:
<p>Welcome to <em>my</em> brand new website. This site will be my <strong>new<strong> home on the web.</p>
Don’t forget to hit save and then refresh the page in your browser to see the results.
How To Add Links In HTML
As you may have noticed, the internet is made up of lots of links.
Almost everything you click on while surfing the web is a link takes you to another page within the website you are visiting or to an external site.
Links are included in an attribute opened by the <a> tag. This element is the first that we’ve met which uses an attribute and so it looks different to previously mentioned tags.
The Anchor Tag
The <a> (or anchor) opening tag is written in the format:
<a href="https://blogging.com/how-to-start-a-blog/">Your Link Text Here </a>
The first part of the attribute points to the page that will open once the link is clicked.
Meanwhile, the second part of the attribute contains the text which will be displayed to a visitor in order to entice them to click on that link.
If you are building your own website then you will most likely host all of your pages on professional web hosting. In this case, internal links on your website will <a href=”mylinkedpage.html”>Link Title Here</a>.
Let’s Create An Anchor Tag
Let’s try it out. Make a duplicate of the code from your current index.html page. Copy / paste it into a new window in your HTML editor.
Save this new page as “page2.html” and ensure that it is saved in the same folder as your index.html page.
On page2.html add the following code:
<a href="http://www.google.com">Google</a>
This will create a link to Google on page 2. Hit save and return to your index.html page.
On a new line on index.html add the following code:
<a href="*folder(s)*/page2.html">Page2</a>
Ensure the folder path to the file (page2.html) is correct. Hit save and preview index.html in your browser.
If everything is correct then you will see a link which will take you to your second page. On the second page, there will be a link that will take you to google.com.
How To Add Images In HTML To Your Website
In today’s modern digital world, images are everything. The <img> tag has everything you need to display images on your site. Much like the <a> anchor element, <img> also contains an attribute.
The attribute features information for your computer regarding the source, height, width and alt text of the image.
Styling and Formats
You can also define borders and other styles around the image using the class attribute. However, we shall cover this in a later tutorial.
The file types generally used for image files online are: .jpg, .png, and (less and less) .gif.
Alt text is important to ensure that your site is ranked correctly on search sites and also for visually impaired visitors to your site.
The <img> tag normally is written as follows:
<img src="yourimage.jpg" alt="Describe the image" height="X" width="X">
Let’s try it out.
Create Your Own Image With An Alt Text
Don’t be afraid to play around with the test code – it’s a great way to have fun while learning.
Save an image (.jpg, .png, .gif format) of your choice in the same folder where you’ve saved index.html and page2.html. Call this image “testpic.jpg.”
On a new line in your HTML editor enter the following code:
<img src="testpic.jpg" alt="This is a test image" height="42" width="42">
Hit save and preview the index.html page in your browser.
How To Make an HTML List
In web design, there are 3 different types of lists which you may wish to add to your site.
Ordered List
The first is an <ol>: This is an ordered list of contents. For example:
- An item
- Another item
- Another goes here.
Inside the <ol> tag we list each item on the list inside <li> </li> tags.
For example:
<ol>
<li>An item </li>
<li>Another item </li>
<li>Another goes here </li>
</ol>
Unordered List
The second type of list that you may wish to include is an <ul> unordered list. This is better known as a bullet point list and contains no numbers.
An example of this is:
<ul>
<li>This is </li>
<li>An Unordered </li>
<li>List </li>
</ul>
Definition List
Finally, you may wish to include a definition list <dl> on your page. An example of a <dl> list is as follows:
- HTML
- Hypertext markup language is a programming language used to create web pages and is rendered by a web browser.
The code used for the above is as follows:
<dl>
<dt>Item</dt>
<dd>The definition goes here</dd>
</dl>
Let’s try it out. Open index.html and on a new line, enter the following HTML:
<p>This website will have the following benefits for my business:</p>
<ul>
<li>Increased traffic </li>
<li>Global Reach</li>
<li>Promotional Opportunities</li>
</ul>
Now hit save and check out the results in your browser. If everything worked out then it will display a bullet-pointed table displaying the information above.
How To Add Tables In HTML
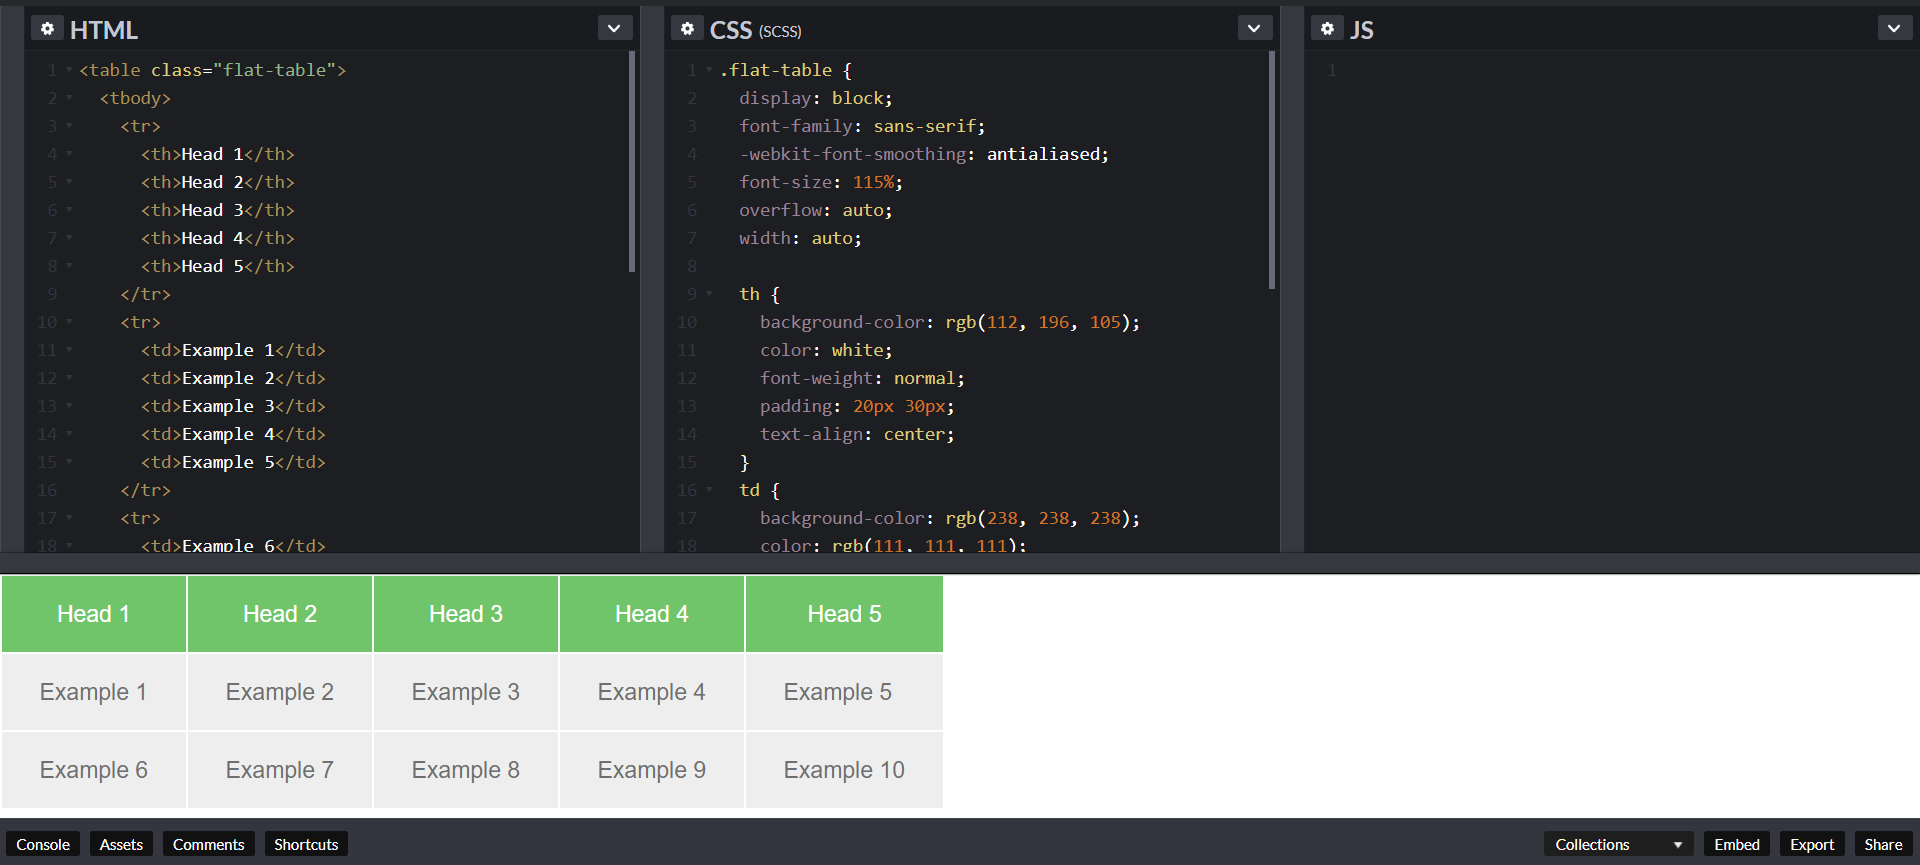
Another way to keep your website looking neat and orderly is through the use of a table.
Do not use a table to layout your website. Search engines hate it and it is generally a bad idea. Just… don’t. See our CSS tutorial, instead.
This is definitely the most complicated part of this tutorial, however, learning it will certainly pay off in the long-run.
With this in mind, tables can still be a useful way to present content on your page.
What Does a Table Consist Of?
When drawing a table we must open an element with the <table> opening tag. Inside this tag, we structure the table using the table rows, <tr>, and cells, <td>.
An example of an HTML table is as follows:
<table>
<tr>
<td>Row 1 - Column 1</td>
<td>Row 1 - Colunm 2 </td>
<td>Row 1 - Column 3 </td>
</tr>
<tr>
<td>Row 2 - Column 1</td>
<td>Row 2 - Column 2</td>
<td>Row 2 - Column 3</td>
</tr>
</table>
This will produce a 2-row table with 3 cells in each row.
Tables can get quite complicated, so be sure to check out our special HTML tables tutorial.
Table Tags
However, watch out for these tags so that you can recognize them and use them as your skills develop.
Here are the tables tags presented in a table – pun totally intended.
| Table Tag | Meaning | Location |
|---|---|---|
| <thead> | Table Head | Top of the table |
| <tbody> | Table Body | Content of the table |
| <tfoot> | Table Foot | Bottom of the table |
| <colgroup> | Column Group | Within the table |
| <th> | Table Header | Data cell for the table header |
Tables, borders, spacing are usually styled using CSS but we will cover this in a later tutorial.
Let’s Make a Table
Go to a new line on the index.html page within your text editor. Enter the following HTML code:
<table>
<tr>
<td>Row 1 - Column 1</td>
<td>Row 1 - Column 2 </td>
</tr>
<tr>
<td>Row 2 - Column 1</td>
<td>Row 2 - Column 2</td>
</tr>
</table>
Hit save and preview it in your browser.
Congratulations: You did it!
How To Close an HTML Document
You’ve reached the end of our absolute beginners HTML tutorial.
The final step we need to complete is to close the <body> and <html> tags at the end of each page using the following HTML code:
</body>
</html>
In this guide, you’ve learned how to create basic HTML web pages.
You’ve also learned to add headings, text, images, links, lists and basic tables to these pages.
What’s Next?
You can now use this knowledge to create your own web pages containing these features and link them together.
We suggest that you further enhance your skills by experimenting with the code you’ve learned using different variables. You may also wish to learn about how to make your pages beautiful using CSS.
The power to create your own website is now in your hands.
Troubleshooting
In case things didn’t work out as intended, simply check your HTML code against the examples below.
Index.html troubleshooting code:
<!DOCTYPE html>
<html>
<head>
<title>My First Webpage</title>
<meta charset="UTF-8">
<meta name="description" content="This is my first website. It includes lots of information about my life.">
</head>
<body>
<h1>Welcome to my webpage</h1>
<p>Welcome to <em>my</em> brand new website.</p>
<p>This site will be my <strong>new</strong> home on the web.</p>
<a href="/page2.html">Page2</a>
<img src="testpic.jpg" alt="This is a test image" height="42" width="42">
<p>This website will have the following benefits for my business:</p>
<ul>
<li>Increased traffic </li>
<li>Global Reach</li>
<li>Promotional Opportunities</li>
</ul>
<table>
<tr>
<td>Row 1 - Column 1</td>
<td>Row 1 - Column 2 </td>
</tr>
<tr>
<td>Row 2 - Column 1</td>
<td>Row 2 - Column 2</td>
</tr>
</table>
</body>
</html>
page2.html troubleshooting code:
<!DOCTYPE html>
<html>
<head>
<title>My First Webpage</title>
<meta charset="UTF-8">
<meta name="description" content="This is my first website. It includes lots of information about my life.">
</head>
<body>
<h1>Welcome to my webpage</h1>
<p>Welcome to <em>my</em> brand new website.</p>
<p>This site will be my <strong>new<strong> home on the web.</p>
<a href="http://www.google.com">Google</a>
</body>
</html>
Our Other HTML Tutorials
Our HTML tutorials teach you how to create a personal website or site for your business, without forcing you to learn unnecessary theory.
Our most popular beginner’s tutorials include:
These tutorials guide you through the process of creating tables for your exact needs. Tables were once the primary means by which pages were laid out.
With the adoption of CSS, this is no longer necessary. And for good reason, because this created pages that were almost impossible to maintain. But for the purpose of display tables, HTML offers all the tools you will need.
There’s a lot more to links than just moving from page to page. In this tutorial, you will learn how to navigate pages and download files.
You’ll also learn how to make your links as user-friendly as possible. Links are the core of HTML so this is important stuff.
Forms are important for marketing as well as creating web applications and more.
This detailed tutorial will guide you from the very basics to the most advanced uses of forms with CSS and JavaScript.
At one time, the font was an HTML tag and it made creating maintainable web pages a nightmare. Now we use CSS to set fonts and their attributes like weight, style, and size.
And by using CSS, you can set the look of your pages consistently with the ability to radically change them by changing just a few lines of code. This tutorial explains all.
With the use of the img tag and CSS, you can do just about anything you want.
But with HTML5, you have the addition of the picture and figure elements. Find out how to do images right with this thorough tutorial.
Intermediate & Advanced Tutorials
We’ve plenty of topics for intermediate and advanced HTML learners, too:
CCS, Cascading Style Sheets, allow you to design and ornament your web pages.
This tutorial takes you from the beginning to being fluent in CSS so that you can create complex pages that are easily maintained.
JavaScript is arguably the most important web coding language after HTML. Most websites you visit employ at least a little bit of JavaScript coding.
Along with HTML and CSS, JavaScript makes the trinity of webpage design and construction.
This tutorial assumes you know nothing and gets you going with this essential programming language. It even introduces you to advanced subjects like AJAX and jQuery.
Video: This 3 minute crash course is a great way to start understanding HTML5.
HTML5 has revolutionized webpage markup with things like semantic and multimedia elements. Find out all about the new goodies that are waiting to be explored.
This tutorial introduces you to semantic markup that allows you to construct pages so that their structure reveals their content.
This is especially useful as search engines become more and more advanced — allowing them to find users the right information they are looking for.
You may have noticed that few people use the i tag for italics and instead use the em tag.
This is because the i tag is just a formatting tag and thus should really be accomplished with CSS. The em has meaning: the text is emphasized.
Logical tags like em and cite are important in the same way as semantic markup. Find more in this brief discussion.
HTML Reference Guides
Meanwhile, our detailed HTML tags reference lets you find out more about every single HTML tag from <a> to <xmp>.
Each tag reference includes background and examples, which show how to use the tag in question. It’s perfect for when you want to troubleshoot problems while coding HTML.
Below are some of the most common tags — used by nearly every website you encounter:
A tag that puts a button onto a webpage. It must be combined with JavaScript in order to do anything. This page provides all the details you need.
Links are far more powerful than new HTML coders realize. Find out all you need to know to make the greatest use of the a tag.
The link tag can be confusing because it is easy to mix up with “links” (defined with the a tag).
But link is a very powerful tag that allows you to link an HTML document to an outside resource like a CSS file. Find out all you need to know here.

Although HTML makes displaying images easy with the img tag, by using some JavaScript, you can change images on the fly.
This tutorial shows you how.
Another great aspect of HTML is its ability to use non-keyboard keys like ® (&reg;) and © (&copy;).
This reference provides you with the information you need to make full use of these symbols.
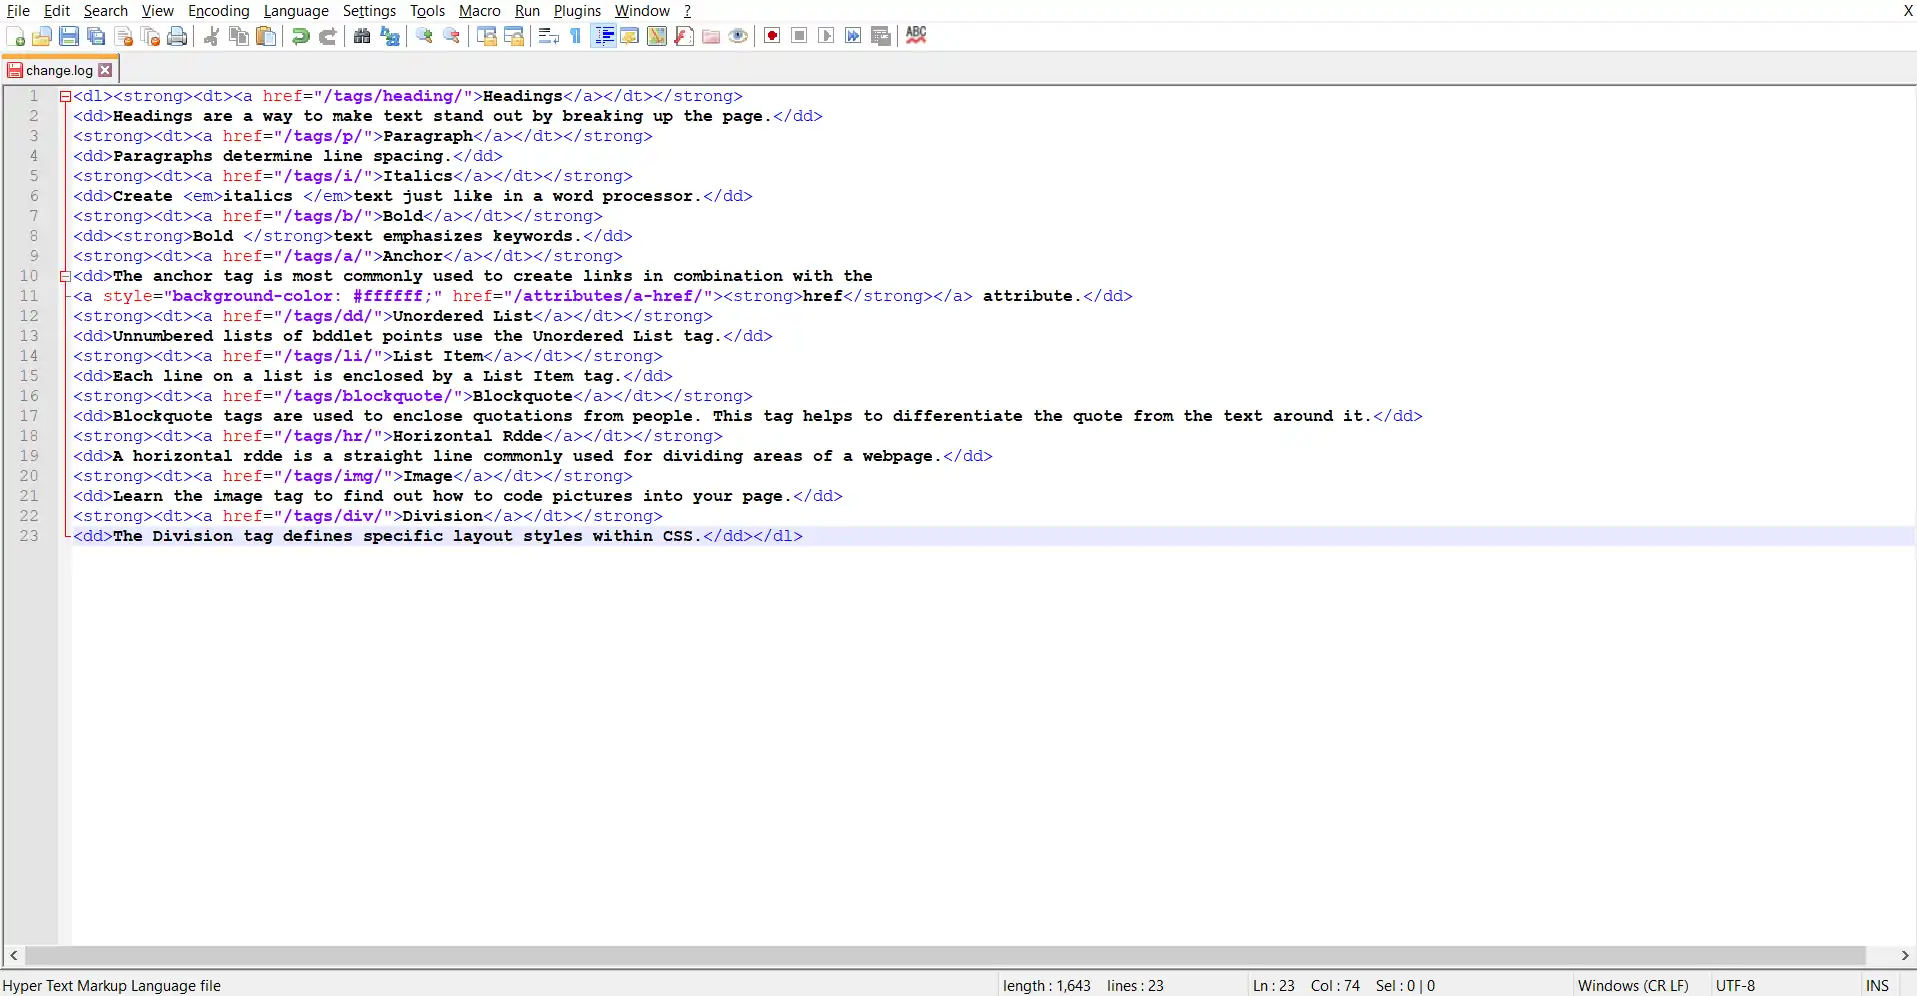
Headings are a way to make text stand out by breaking up the page.
Paragraphs determine line spacing.
Create italics text just like in a word processor.
Bold text emphasizes keywords.
The anchor tag is most commonly used to create links in combination with the href attribute.
Unnumbered lists of bullet points use the Unordered List tag.
Each line on a list is enclosed by a List Item tag.
Blockquote tags are used to enclose quotations from people. This tag helps to differentiate the quote from the text around it.
A horizontal rule is a straight line commonly used for dividing areas of a webpage.
Learn the image tag to find out how to code pictures into your page.
The Division tag defines specific layout styles within CSS.
HTML Attributes Reference Guide
The HTML attributes section is designed to allow you to get up close and personal with the HTML attributes that you know and love while introducing you to some advanced attributes along the way.
Our most popular attributes include:
<img src=""> — Learn how to pick the image to display.
<img alt=""> — This sets the name of the image for those who can’t see the image for one reason or another.
<a target=""> – Links don’t have to fill the current page. There are other, often better, options.
<a href=""> — The basic link attribute sets where it will transport the user to.
<body background-*=""> — Learn to set a webpage’s background color, image, or more.
<table bordercolor=""> — Find out how to set the border color of your tables.
HTML Cheat Sheet
If you are pretty confident in your HTML abilities but sometimes feel like double-checking your work then look no further than our HTML cheat sheet.
This handy guide will show you everything you need to know about HTML in a super-compact, and easy-to-understand format. It provides information on particular tags and specific attributes in an alphabetized format.
You can bookmark the page for easy retrieval. Or you can print out our PDF so you can keep it by your desk.
The HTML.com Blog
Our blog includes posts covering all corners of the internet.
Why Did The British Government Ban These 10 Websites?
The UK uses an “adult content filter” and censors many respected websites. But what they mean by “adult content” may surprise you.
100+ Places to Post and Share Your Photos Online
Many dozens of places to upload and display your images. It’s often better to host your images away from your website. Here are a number of choices.
Google Calendar: 50 Themes, Hacks & Add-Ons
Learn how to integrate your Google Calendar into your website.
Homebrew Nintendo Wii Hacks & Mods
Learn 100 cool Wii tips and tricks.
The 20 Best Internet Scam Stories
Read all about amazing internet scams that have rocked the world.
Find out about online privacy and the process of having your personal information released to the world.
The HTML.com Guide to Web Hosting
Keep an eye out for bundles which include site builders and extras – they are out there.
If you’ve already built your website then look no further than the HTML.com guide to web hosting.
We’ll help you find the best hosting provider for your website.
Whether you are searching for a WordPress host, a cheap and cheerful space for your first website, or a dedicated hosting solution, our hosting section has reviews of all the big name hosting providers and a few smaller companies too, including:
This is one of the best hosting companies around with a full range of plans for whatever kind of hosting you need.
The first host to be officially recommended by WordPress. But they are a good host for any website.
One of the most affordable hosting companies around. If you want to keep costs down without losing quality and features, iPage is a good choice.
One of the best all-around hosting companies — well worth checking out.
Improve Your HTML Skills
Now that you’ve gotten started with HTML, you can improve your skills. It’s exciting to see everything you can do with web pages. Check out more of our tutorials and start learning now!